It looks to me as though your processes are merely setting white and
black points, or maybe some kind of auto levels or curves, which will
often work fine but not with this somewhat limited range of values. I
would try working with a subject and set up an action to match the
light you have to work with. Save it as an action that you can load
for each new photo. I would think that would work better than doing a
separate photo fix adjustment for every new subject.
Joel W.
On Mon, Sep 27, 2010 at 6:06 AM, Olaf Greve <ogreve@xxxxxxxxxxxxxx> wrote:
> Hi all,
>
> For some research work in the line of Japanese ordnance, I'm currently
> taking pictures of my collection. I use a combination of the regular
> lens-kit lens (from the top of my head that is the 14-45 F3.5-F5.6)
> whenever the object is big enough, and a manually focussed OM Zuiko
> 50/3.5 macro for the small stuff.
>
> Back in the film days, for this I had printed some A3 sized papers
> with an 18% grey tone, so as to be able to take a spot reading on that
> grey background, focus the object in question and then take the picture.
>
> Now, with this digital stuff I have come across some issues with all
> of this, and I would like to know what the best way is to get good
> pictures.
>
> What I have learnt already, is that the WB setting doesn't always work
> as expected. A while ago I had an eye-opener as to just how the 'Auto'
> setting is interpreted. Ever since, tweaks have been made, and results
> have improved dramatically, yet, I think they could be better still.
>
> Here's what I do, and where I have doubts:
>
> As the objects in question (i.e. mainly shell casings and projectiles)
> are often made of (shiny) brass, I do not use a flash. Instead, I take
> pictures outside, on an overcast day, without a flash.
> I have my camera (E-500) forced to not use the flash, and the WB is
> set to the 'cloud' icon (6000K, I think), which I guess means
> 'overcast day'. The picture quality is set to the highest JPEG quality
> (i.e. not the 'raw' format). As a backdrop (and here I think the main
> difference between film and digital may be rearing it's head!), I use
> the same A3 18% grey papers. With AF lenses, I just directly focus on
> the object in question and take the light reading averaged metered
> (with the pattern that measures all over the place), as I find spot
> readings don't work easily with the AF mode. I post-process the lot
> using Corel Paint Shop Pro X2. The actions I almost always take are
> first the "one step photo fix" (which most often tends to give a
> better colour balance, but sometimes seems to be off), followd by an
> "unsharp mask". For most of the pictures (say 90-05%), this gives very
> pleasing, tack sharp (sometimes overly sharp) results. However, on
> some shots the colour seems to be off. For some reason some of the
> shiniest brass casings tend to turn really darkish (black, almost)
> particularly after the "one step photo fix" edit.
>
> My theory is that either perhaps in digital cameras, the averaged
> reading throws colours off, or that the backdrop used should be (full)
> white, instead of grey (at least, if the WB is set to overcast, it may
> interpret the 18% grey as white, hence throwing the colours off)....
> But then, these are just my theories....
>
> I have uploaded some examples of this phenomenon, and I hope someone
> can look at them and give me some suggestions for improving my
> strategy, such, that I can do so without manually having to tweak
> levels per picture, and such that I don't have to use the 'raw'
> format. The reasons for the desired speedy process are purely time
> based: lots of stuff to photograph, and little spare time, so I need
> to be able to do it almost at bulk speeds and hence a few quick
> digital processing steps are all I'd like to do on the pictures...
>
> The pictures in question (full size, so as to not mingle them any
> further by down-sizing them):
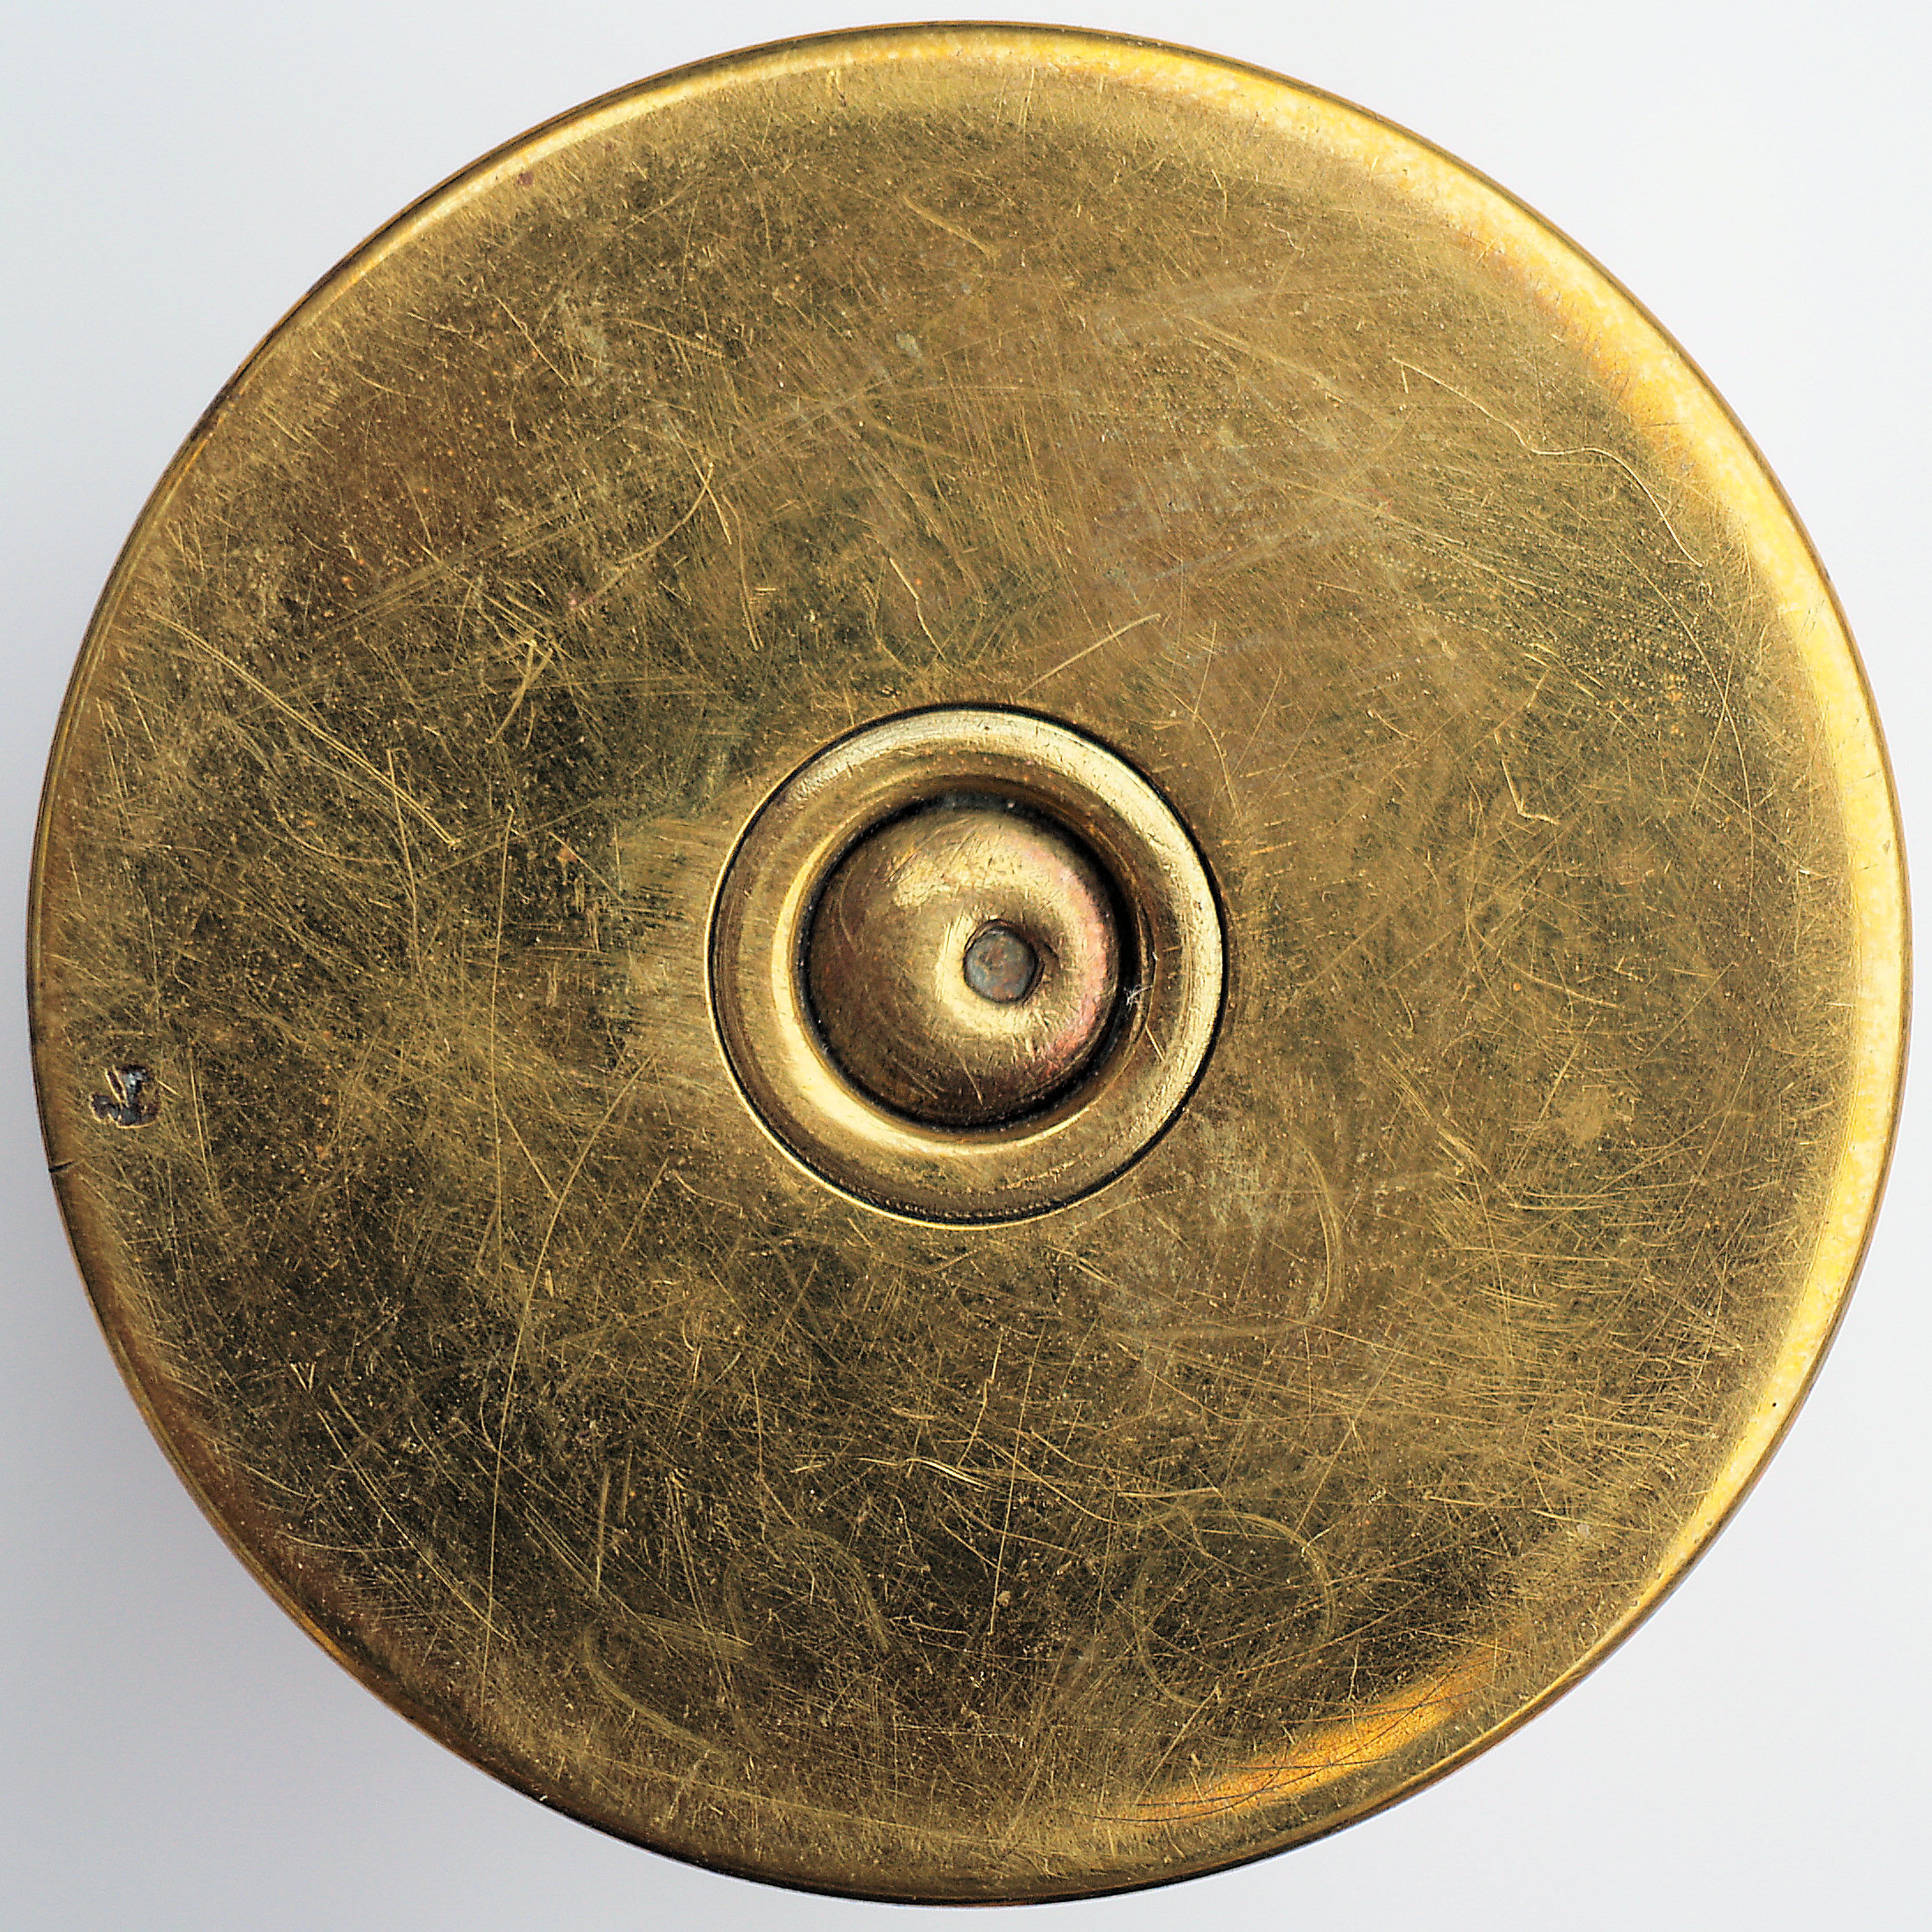
> 1: http://www.millennics.com/test/1_raw.jpg : casing 1, as it came out
> of the camera (no edits)
> 2: http://www.millennics.com/test/1_edit.jpg : casing 1, "one step
> photo fix", "unsharp mask", "cropped", exported with "JPEG optimiser",
> compression set to 15%.
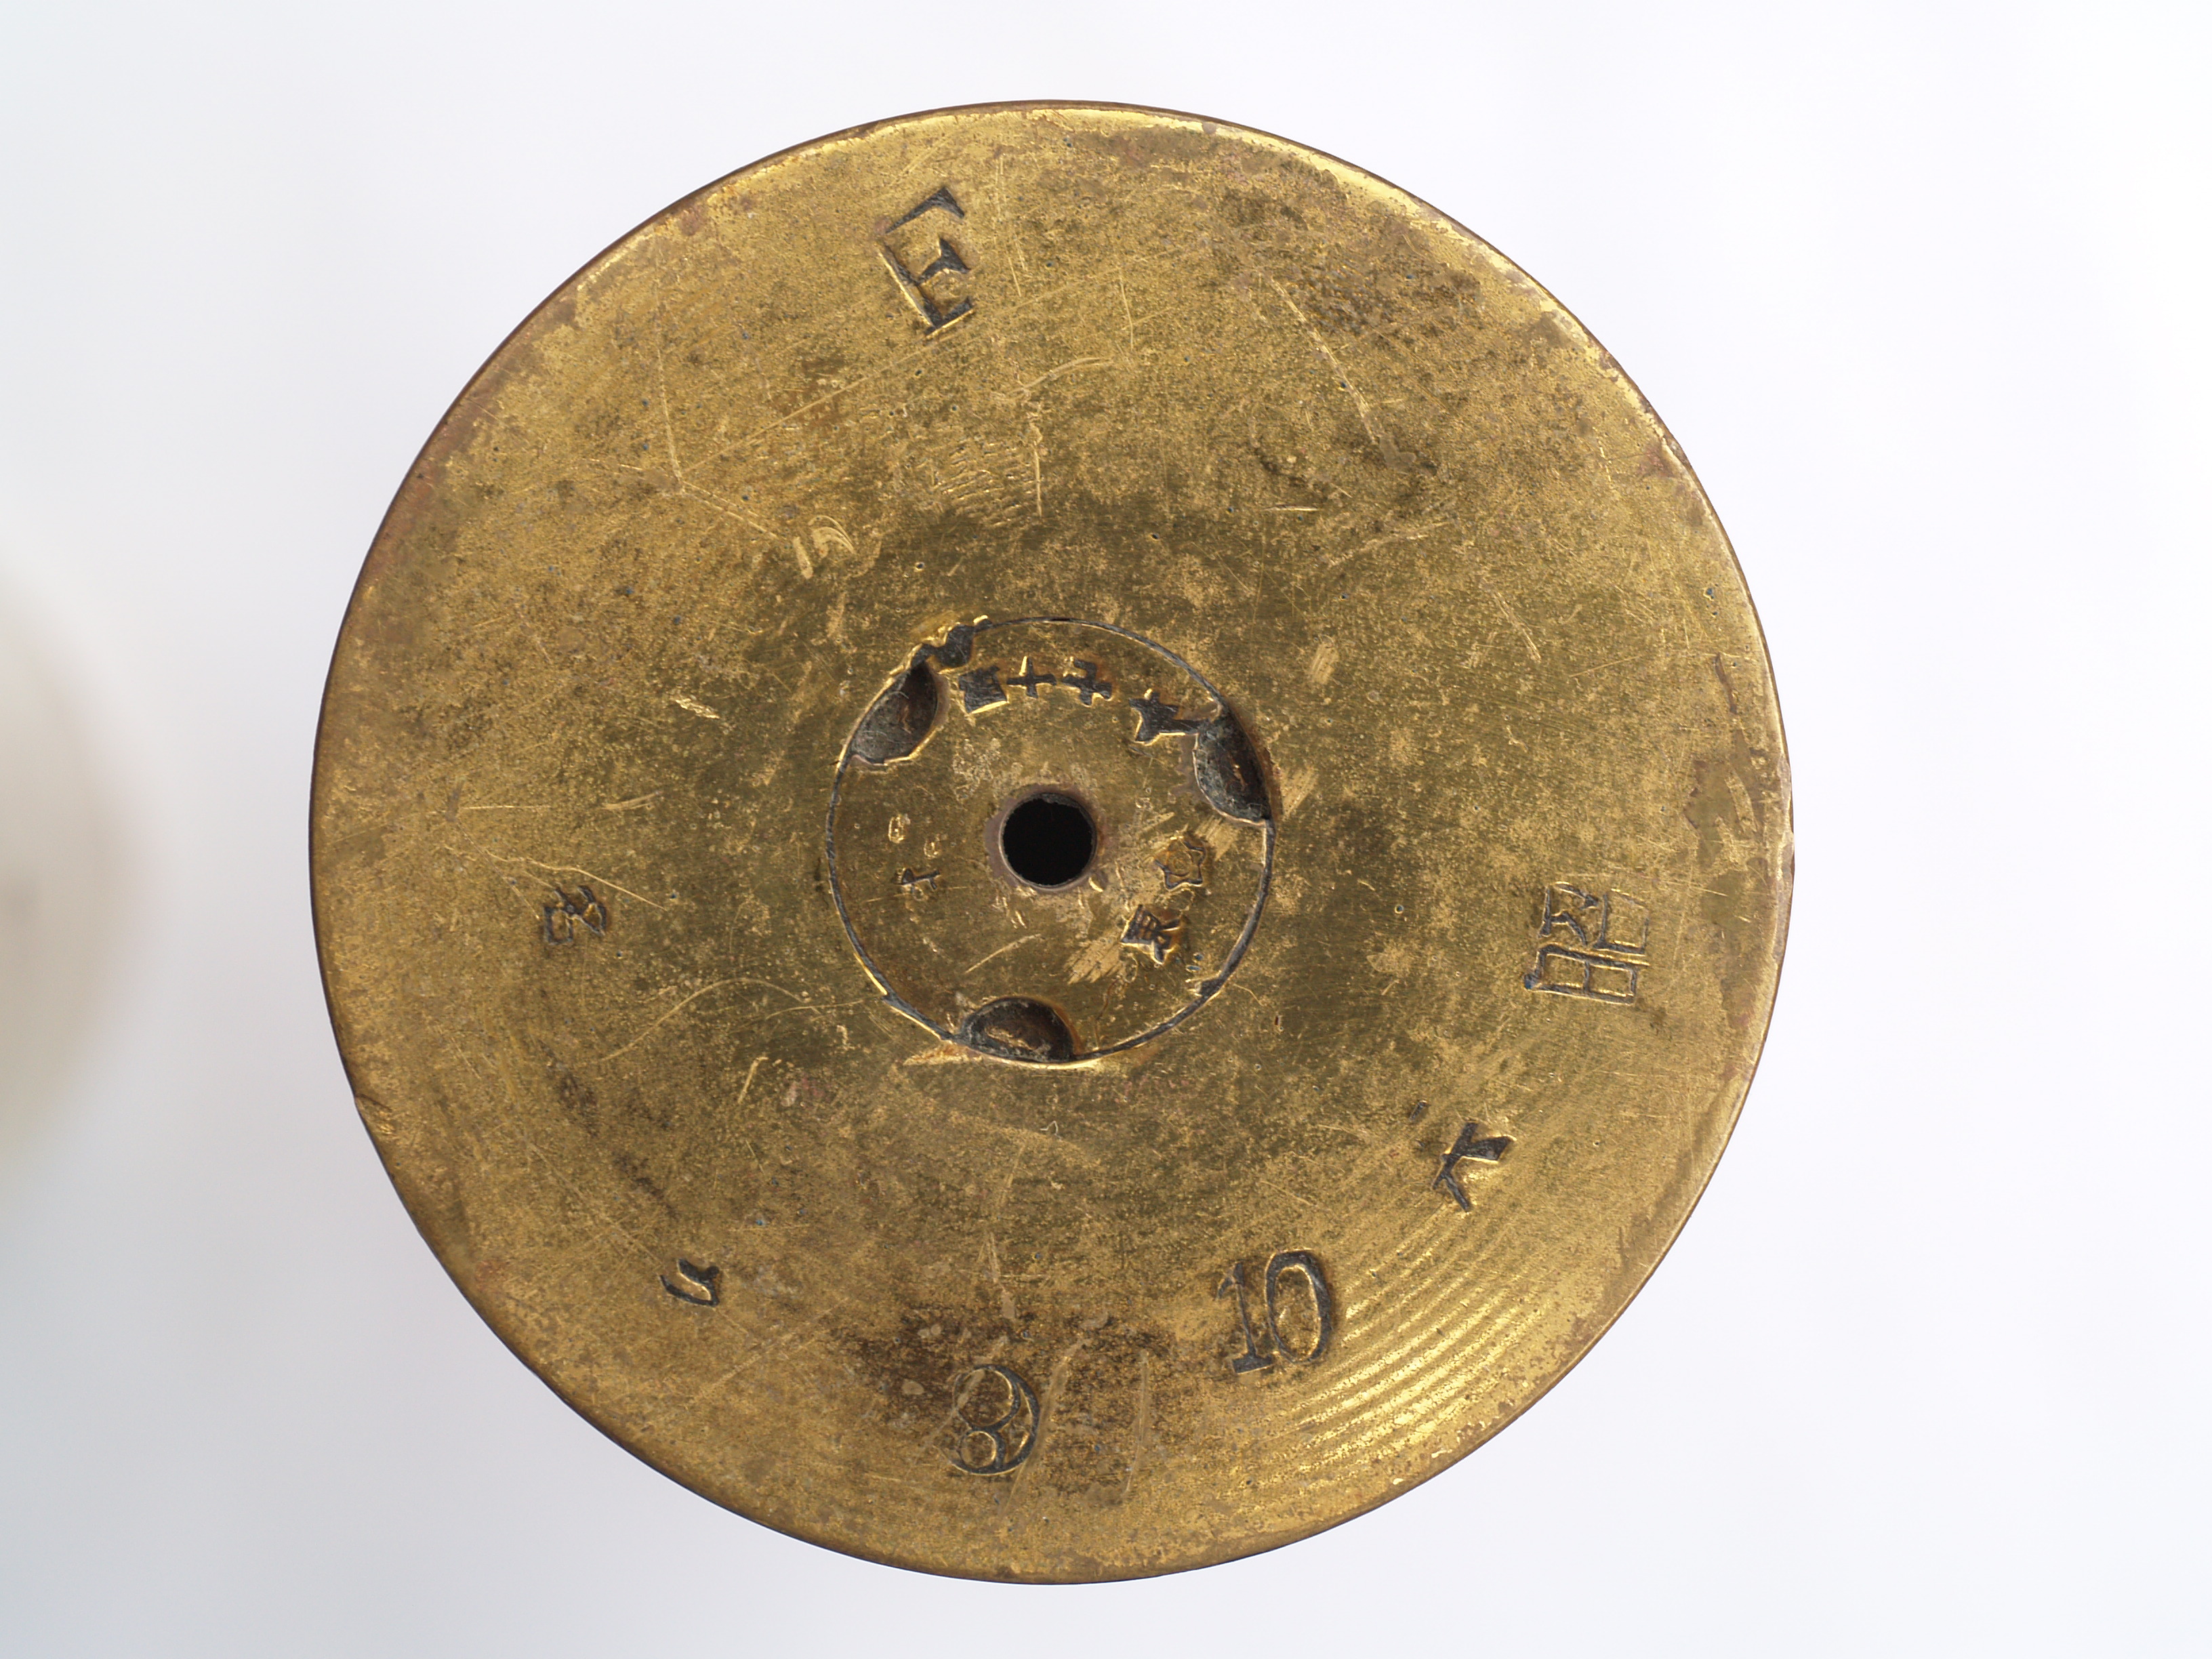
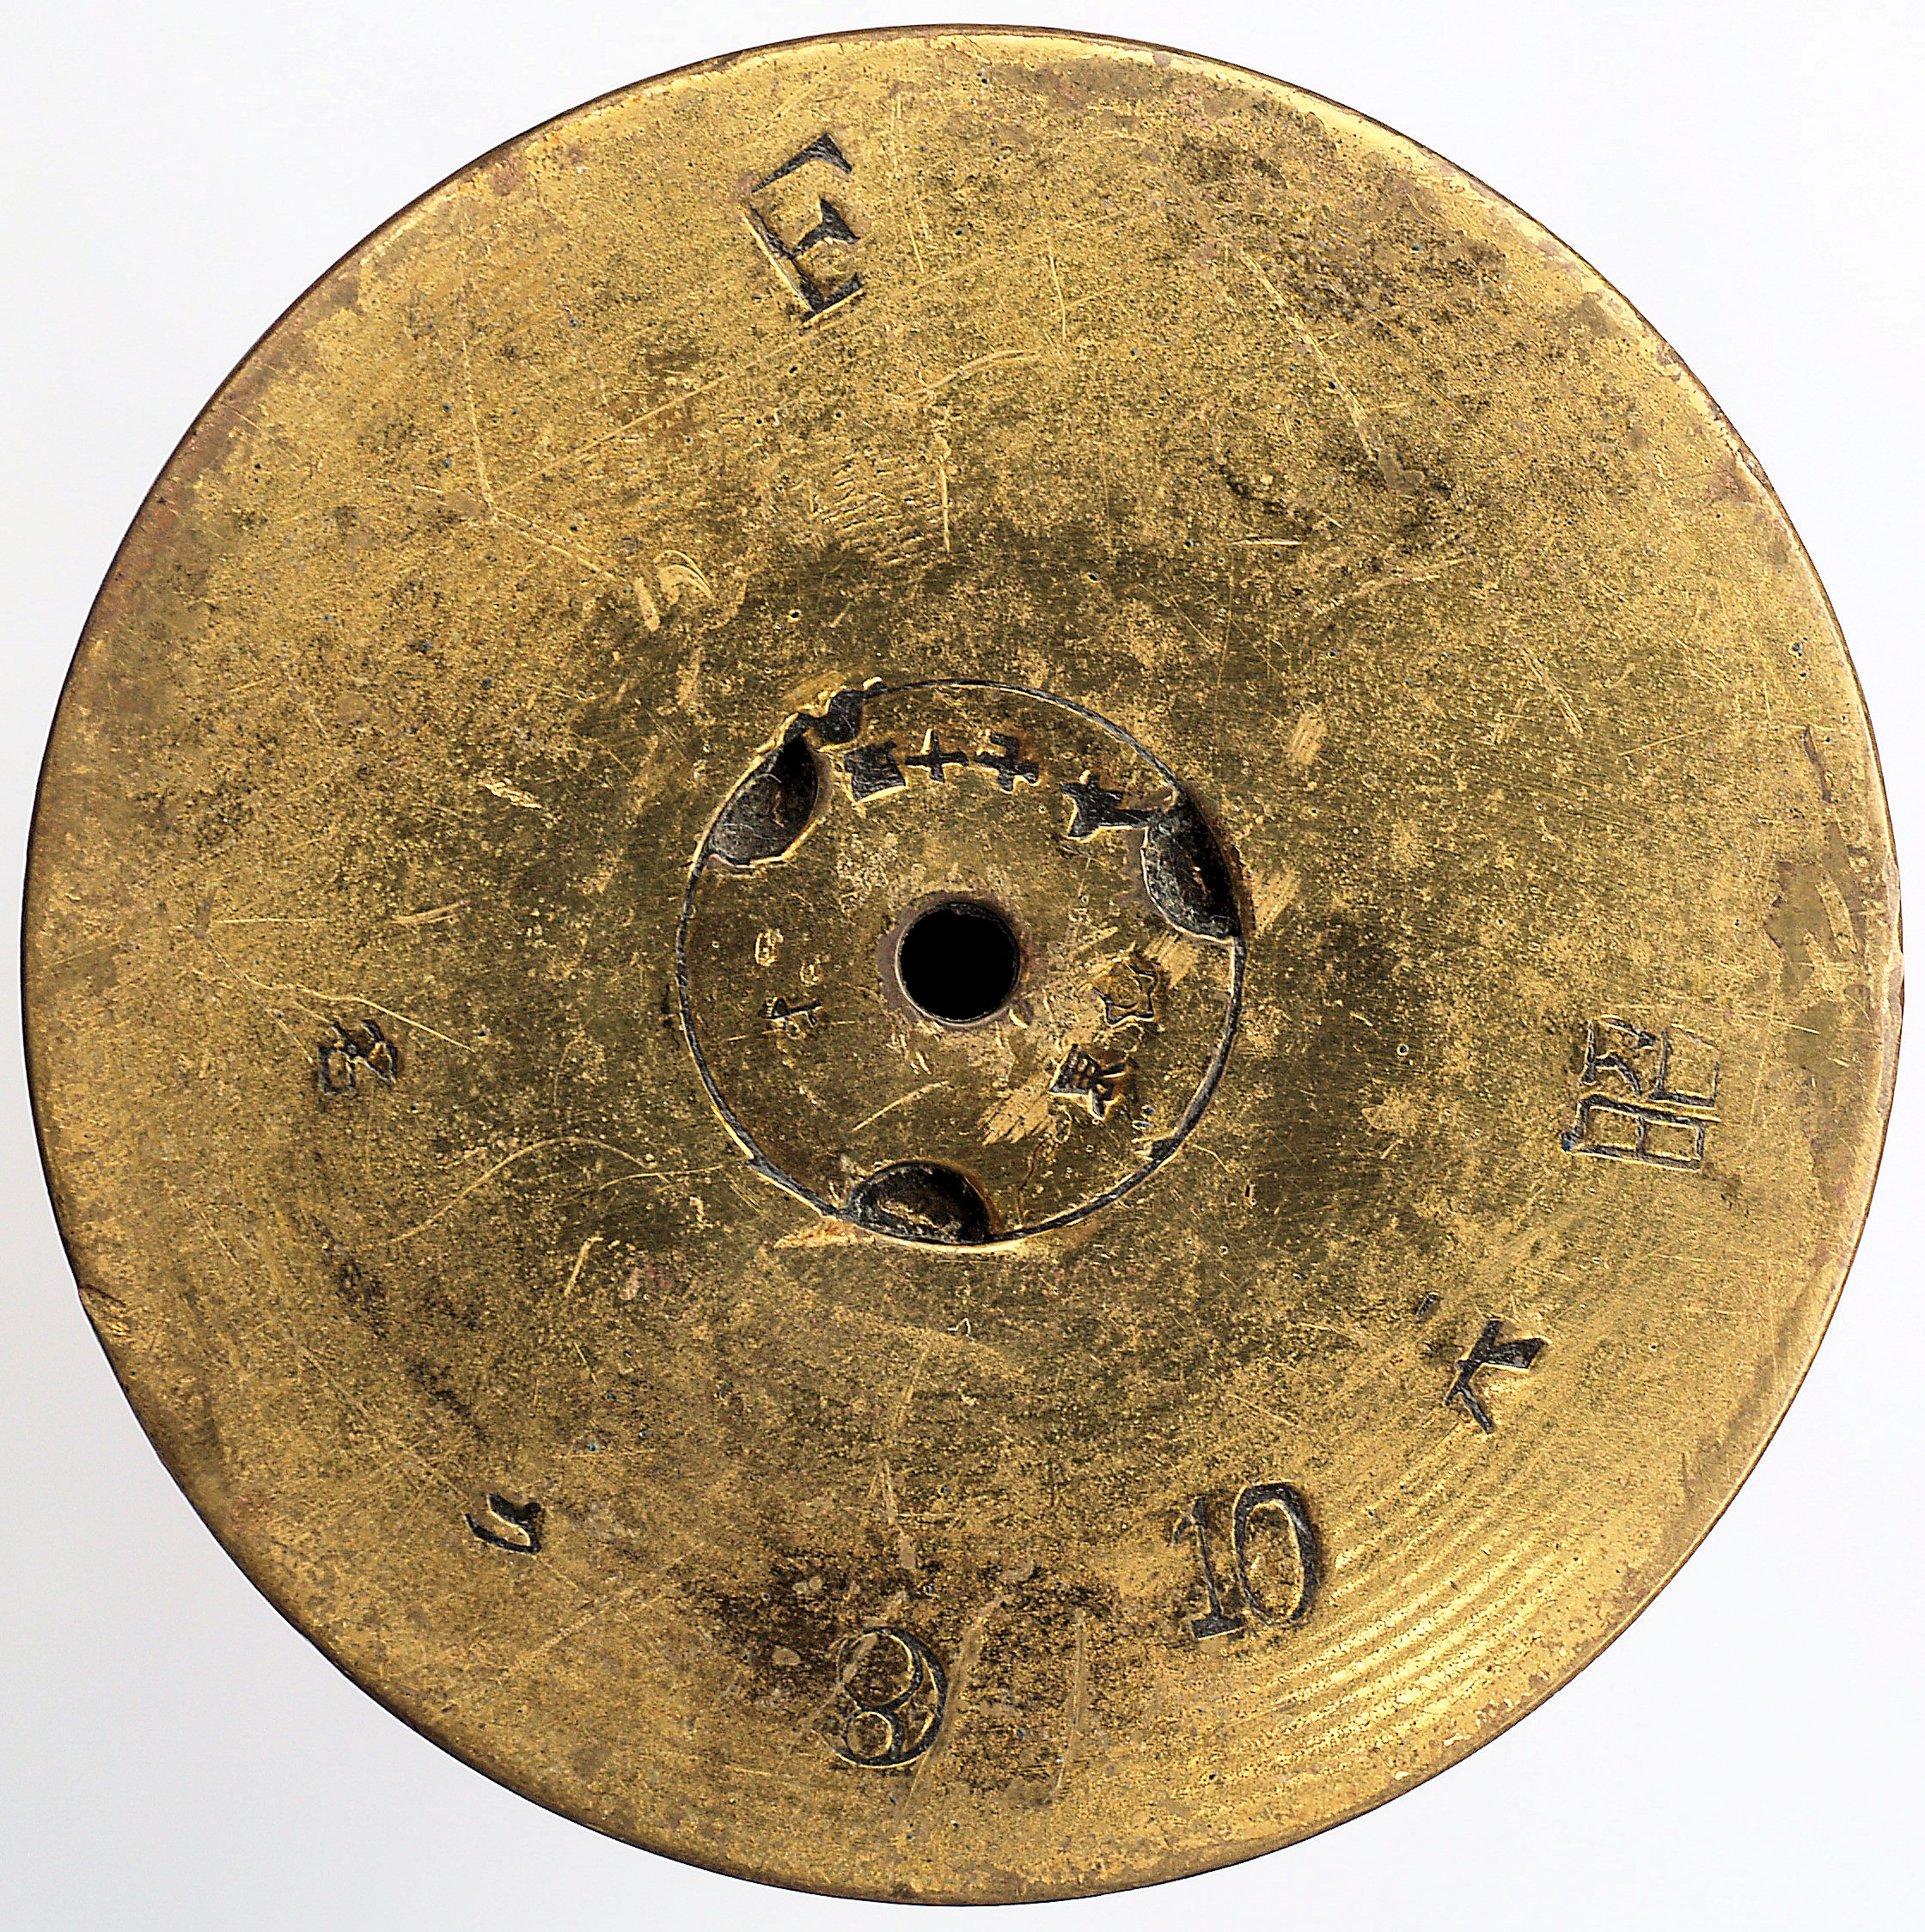
> 3: http://www.millennics.com/test/2_raw.jpg : casing 2, as it came out
> of the camera (no edits)
> 4: http://www.millennics.com/test/2_edit.jpg : casing 2, "one step
> photo fix", "unsharp mask", "cropped", exported with "JPEG optimiser",
> compression set to 15%.
>
> In both cases you will see that the end results are far more pleasing
> than the unedited version, in terms of sharpness, but also, in both
> cases a considerable darkening can be seen. Particularly the bottom
> part of casing 1 has gone much darker, blackish almost....
>
> Are these about the best results achievable, or can anyone give me
> some pointers for improvement?
>
> Thanks in advance, and cheers!
> Olafo
> --
> _________________________________________________________________
> Options: http://lists.thomasclausen.net/mailman/listinfo/olympus
> Archives: http://lists.thomasclausen.net/mailman/private/olympus/
> Themed Olympus Photo Exhibition: http://www.tope.nl/
>
>
--
_________________________________________________________________
Options: http://lists.thomasclausen.net/mailman/listinfo/olympus
Archives: http://lists.thomasclausen.net/mailman/private/olympus/
Themed Olympus Photo Exhibition: http://www.tope.nl/
|